안드로이드 스튜디오 잠금화면 만들기
- 프로그래밍/안드로이드
- 2019. 9. 27.
안드로이드 스튜디오 잠금화면 만들기
얼마전에 안드로이드 스튜디오로 잠금화면 어플을 만들어보았습니다.
(사실 아직 만드는 중입니다.)
- 1. 잠금화면 위에 엑티비티 표시.
- 2. 화면이 꺼졌을때 내가 설정한 화면을 잠금화면에 띄워주기.
- 3. 잠금화면 어플 실행해보기.
- 4. 추가 코멘트.
이번글은 그냥 초보코딩왕님의 블로그를 따라하기만 했습니다.
1. 잠금화면 위에 엑티비티 표시.
잠금화면으로 사용할 Activity를 만들어줍니다.
xml과 class(java)파일 둘 다 만들어줍니다.
Activity를 만들었다면 이제 안드로이드 스튜디오로 아래 코드를 추가해줍니다.
getWindow().addFlags(WindowManager.LayoutParams.FLAG_SHOW_WHEN_LOCKED
                | WindowManager.LayoutParams.FLAG_DISMISS_KEYGUARD);
기본 잠금화면보다 현재 Activity를 상위에 위치시켜라.
--> WindowManager.LayoutParams.FLAG_SHOW_WHEN_LOCKED
안드로이드 기본 잠금화면을 없애라.(근데 동작은 안하는 것 같음..왜지..)
--> WindowManager.LayoutParams.FLAG_DISMISS_KEYGUARD
이렇게 완성된 코드는 아래와 같습니다.
(xml이랑 나머지 코드들은 알아서 추가하세요.)

package com.example.lock;//패키지 이름

import android.app.Activity;
import android.os.Bundle;
import android.view.WindowManager;

public class LockScreenActivity extends Activity {
    @Override
    protected void onCreate(Bundle savedInstanceState){
        super.onCreate(savedInstanceState);
        setContentView(R.layout.activity_lock_screen);

        getWindow().addFlags(WindowManager.LayoutParams.FLAG_SHOW_WHEN_LOCKED
                | WindowManager.LayoutParams.FLAG_DISMISS_KEYGUARD);
    }
// 나머지는 알아서 구성하기!
}
2. 화면이 꺼졌을 때 내가 설정한 화면을 잠금화면에 띄워주기
이제 화면이 꺼졌을때 리시버가 감지를 하고 서비스가 위에 있는 LockScreen을 실행하도록 만들겠습니다.
먼저 리시버를 만들어주겠습니다.
new->java Class로 추가해줍니다.(저는 ScreenReceiver라는 이름으로 설정했습니다.)
코드는 아래와 같습니다.
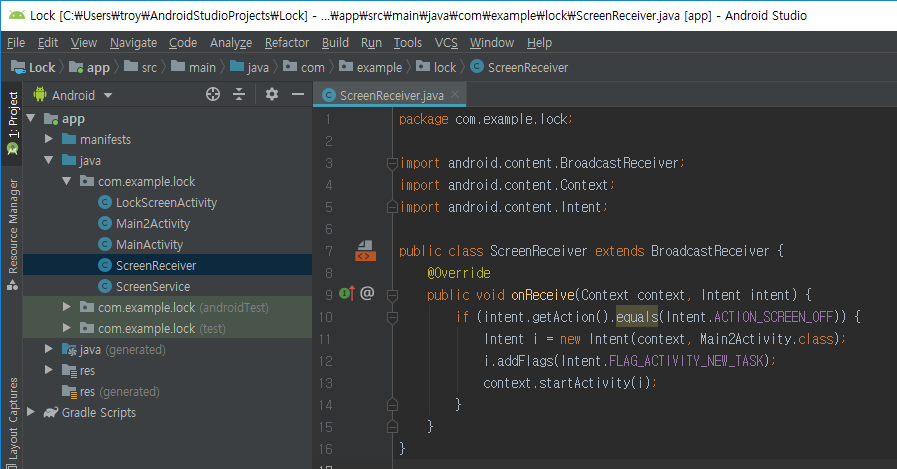
package com.example.lock;//패키지 이름

import android.content.BroadcastReceiver;
import android.content.Context;
import android.content.Intent;

public class ScreenReceiver extends BroadcastReceiver {
    @Override
    public void onReceive(Context context, Intent intent) {
        if (intent.getAction().equals(Intent.ACTION_SCREEN_OFF)) {
            Intent i = new Intent(context, LockScreenActivity.class);
            i.addFlags(Intent.FLAG_ACTIVITY_NEW_TASK);
            context.startActivity(i);
        }
    }
}
화면이 꺼지는 것을 감지해 줄 리시버를 만들었으니 이제 실행을 해줄 서비스를 만들어보겠습니다.
마찬가지로 new->java Class로 class파일을 추가해줍니다.(저는 ScreenService라는 이름으로 설정했습니다.)
코드는 아래와 같습니다.

package com.example.lock;//패키지 이름

import android.app.Service;
import android.content.Intent;
import android.content.IntentFilter;
import android.os.IBinder;

public class ScreenService extends Service {
    private ScreenReceiver mReceiver = null;
    @Override
    public IBinder onBind(Intent intent) {
        return null;
    }
    @Override
    public void onCreate() {
        super.onCreate();
        mReceiver = new ScreenReceiver();
        IntentFilter filter = new IntentFilter(Intent.ACTION_SCREEN_OFF);
        registerReceiver(mReceiver, filter);
    }
    @Override
    public int onStartCommand(Intent intent, int flags, int startId){
        super.onStartCommand(intent, flags, startId);
        if(intent != null){
            if(intent.getAction()==null){
                if(mReceiver==null){
                    mReceiver = new ScreenReceiver();
                    IntentFilter filter = new IntentFilter(Intent.ACTION_SCREEN_OFF);
                    registerReceiver(mReceiver, filter);
                }
            }
        }
        return START_REDELIVER_INTENT;
    }
    @Override
    public void onDestroy(){
        super.onDestroy();
        if(mReceiver != null){
            unregisterReceiver(mReceiver);
        }
    }
}
띄워줄 Activity, 감지하고 알려줄 Receiver, Activity를 실행해줄 service를 다 만들었지만 한가지를 더 해줘야 합니다.
AndroidManifest.xml로 가서 아래와 같이 추가해줍니다.
중요합니다!!(사실 여기서 제대로 안봤다가 한참 삽질함..)

여기까지 만들어도 아직 동작하지 않습니다.
MainActivity에 버튼을 눌렀을 때 기능을 추가해줍니다.
class파일 코드는 아래와 같습니다.

package com.example.lock;//패키지

import androidx.appcompat.app.AppCompatActivity;
import android.content.Intent;
import android.os.Bundle;
import android.view.View;
import android.widget.Button;

public class MainActivity extends AppCompatActivity {
        private Button onBtn, offBtn;
        @Override
        protected void onCreate(Bundle savedInstanceState) {
            super.onCreate(savedInstanceState);
            setContentView(R.layout.activity_main);
            onBtn= (Button)findViewById(R.id.button);
            offBtn= (Button)findViewById(R.id.button2);
            onBtn.setOnClickListener(new View.OnClickListener(){
                @Override
                public void onClick(View v) {
                    Intent intent = new Intent(getApplicationContext(), ScreenService.class);
                     startService(intent);
                }

            });
            offBtn.setOnClickListener(new View.OnClickListener(){
                @Override
                public void onClick(View v) {
                    Intent intent = new Intent(getApplicationContext(), ScreenService.class);
                    stopService(intent);
                }
            });
        }
}
버튼 기능을 추가해줬으니 이제 실제로 버튼을 추가해보겠습니다.
MainActivity.java에 기능을 추가해줬으니 activity_main.xml에 버튼을 추가해줍니다.
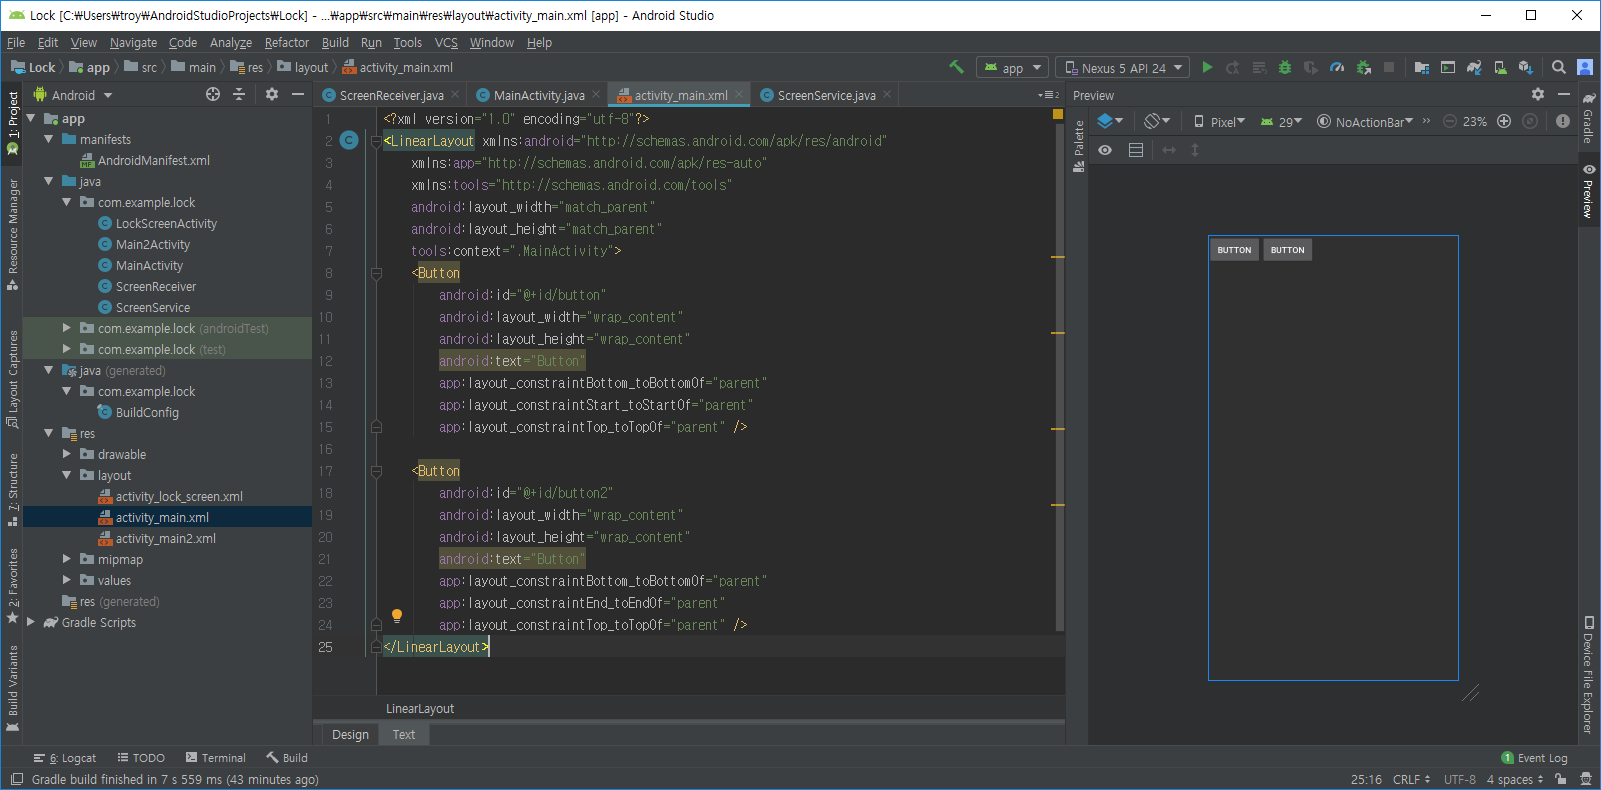
<?xml version="1.0" encoding="utf-8"?>
<LinearLayout xmlns:android="http://schemas.android.com/apk/res/android"
    xmlns:app="http://schemas.android.com/apk/res-auto"
    xmlns:tools="http://schemas.android.com/tools"
    android:layout_width="match_parent"
    android:layout_height="match_parent"
    tools:context=".MainActivity">
    <Button
        android:id="@+id/button"
        android:layout_width="wrap_content"
        android:layout_height="wrap_content"
        android:text="Button"
        app:layout_constraintBottom_toBottomOf="parent"
        app:layout_constraintStart_toStartOf="parent"
        app:layout_constraintTop_toTopOf="parent" />

    <Button
        android:id="@+id/button2"
        android:layout_width="wrap_content"
        android:layout_height="wrap_content"
        android:text="Button"
        app:layout_constraintBottom_toBottomOf="parent"
        app:layout_constraintEnd_toEndOf="parent"
        app:layout_constraintTop_toTopOf="parent" />
</LinearLayout>
버튼도 추가했으니 실행해보겠습니다.
3. 잠금화면 어플 실행해보기
이제 실행해보겠습니다.
(사진찍기 귀찮으므로 안드로이드 스튜디오에 있는 가상머신으로 돌렸습니다.)
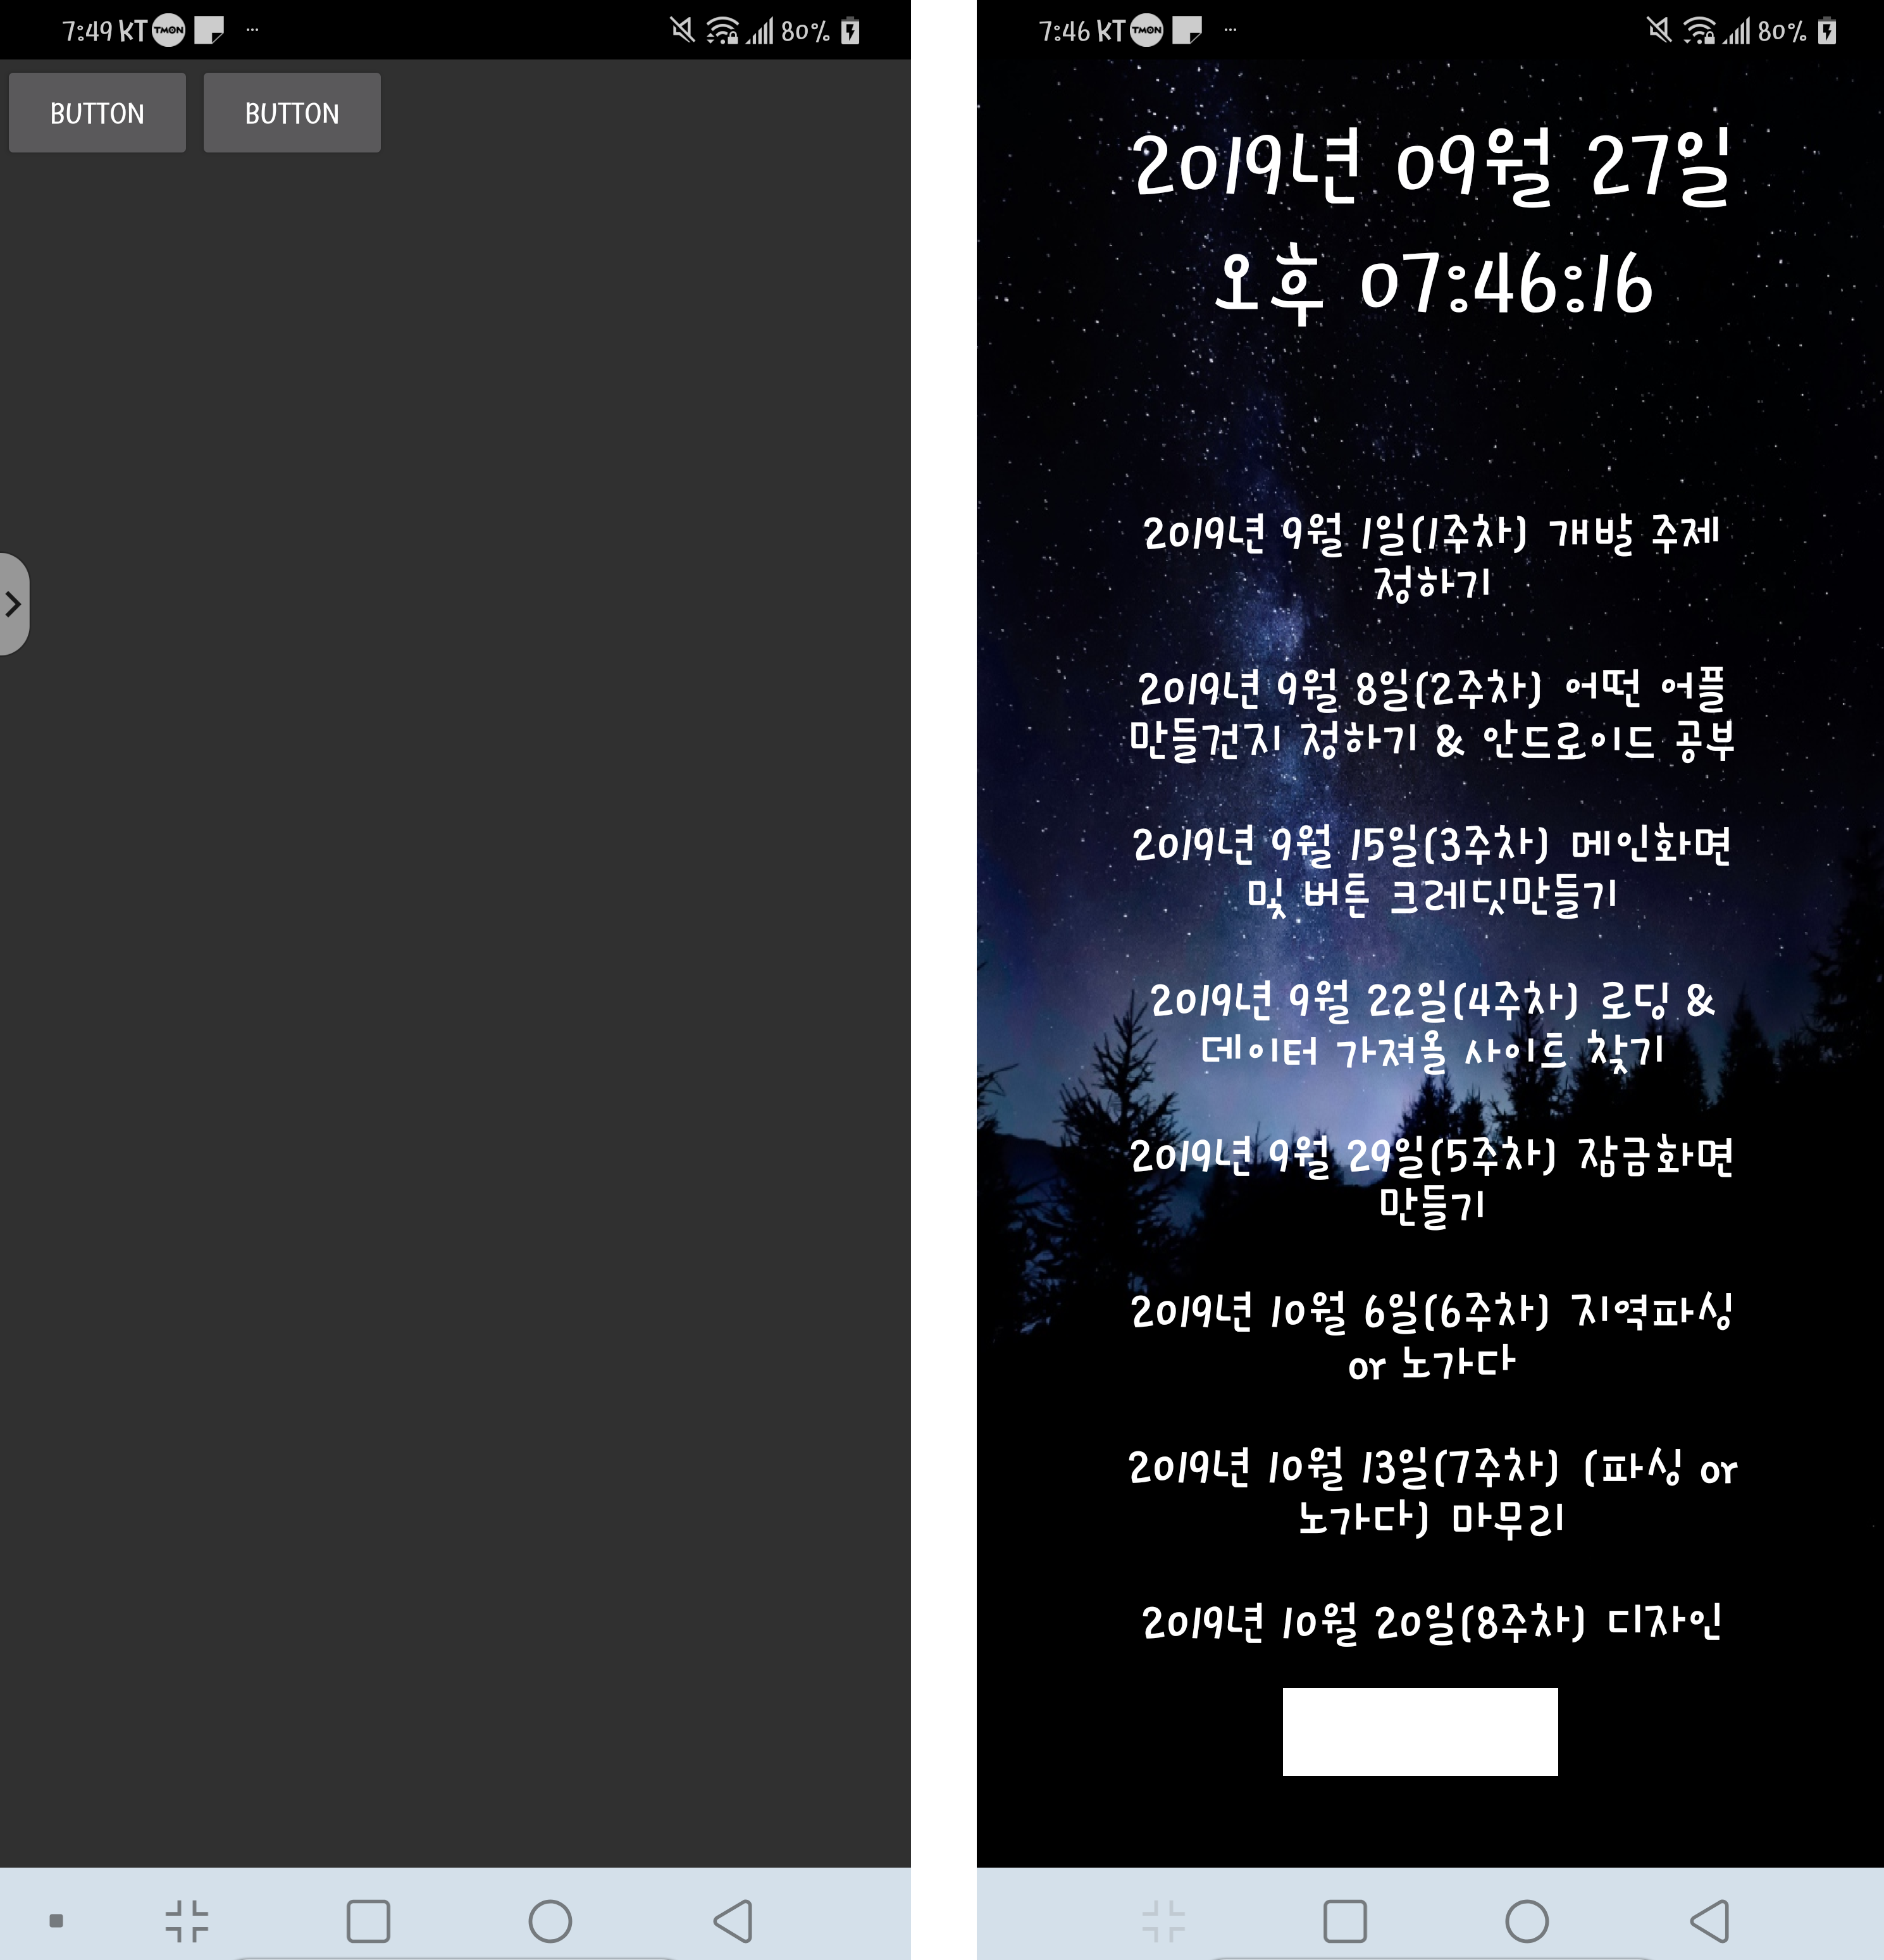
어플을 실행하면 버튼 두개가 보입니다.
첫번째 버튼을 눌러줍니다.
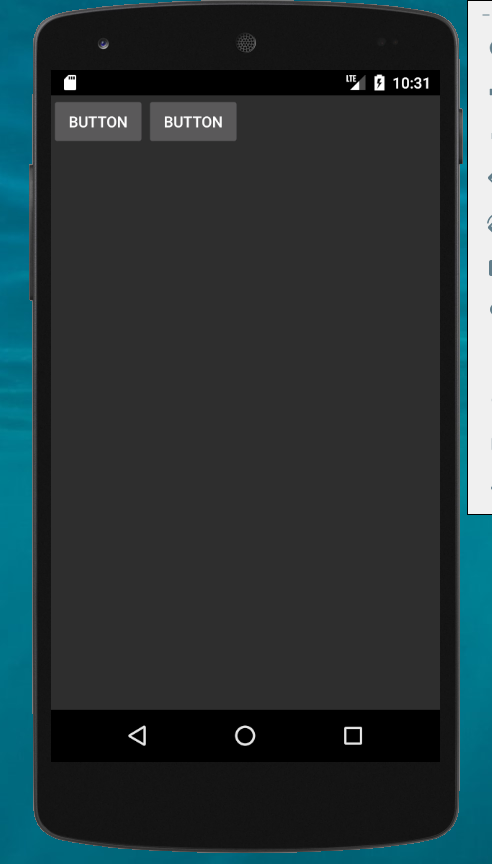
그 후 화면을 끄고 다시 켜줍니다.
제가 설정한 액티비티가 잠금화면 대신 나오는 것을 확인할 수 있었습니다.
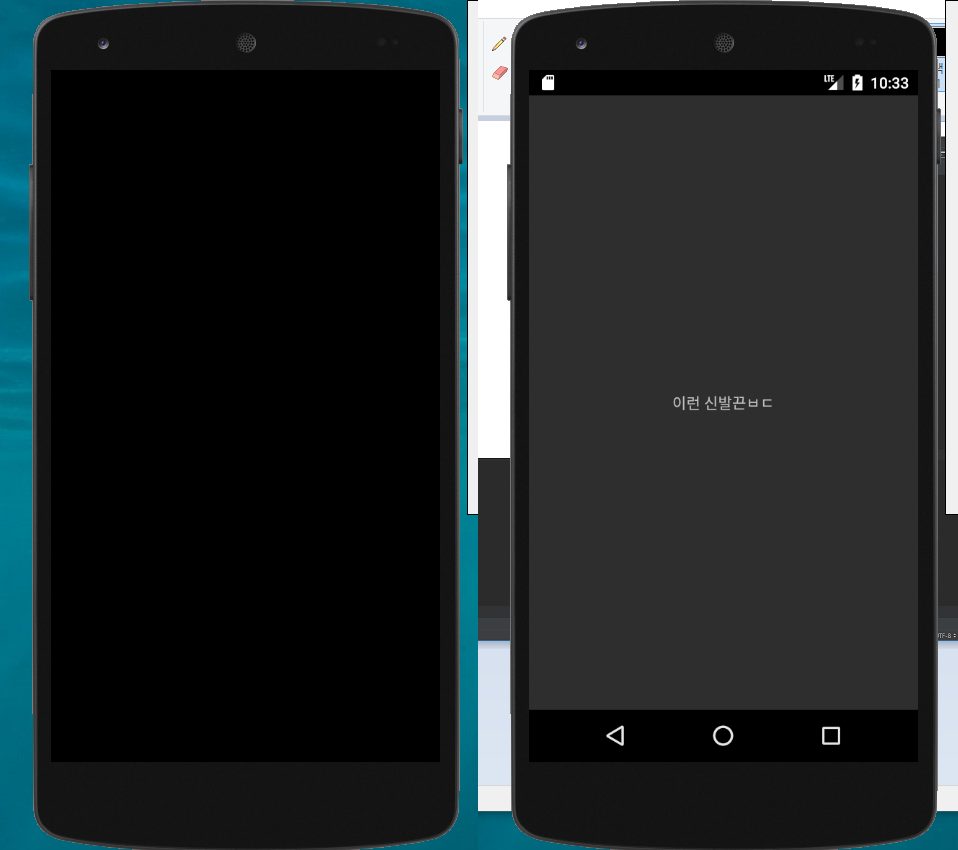
이렇게 만든 코드에 Activity를 바꿔주면 이런것도 가능합니다.
(잠금화면으로 사용할 Activity)
코드 백업
추가코멘트
문제는 이대로 사용하기에는 반응이 조금 느립니다.
조금 더 빨라지도록 수정해봐야겠습니다.
(따라하기만 했는데도 얻은게 많네요. ㅎㅎ)